There’s something magical about fairy lights. Whenever I catch a glimpse of them glowing in a dark space, I can’t help but sigh and smile (if not on the outside, definitely on the inside). It’s soothing. Fond memories of past Christmas seasons and other celebratory events flood into my mind.
Inspired by the many beautiful photos of light table activities, I was determined to have some sort of light table in our home, especially with our usual activities on hold during school holidays. I did a quick search online and a proper light table or light panel can be quite expensive.
Thankfully, many have come up with DIY versions. Teach Preschool’s DIY light table for preschool was particularly helpful.
Do It Yourself Light Table for Kids
I searched our home for available materials to use and am happy to share our Do It Yourself Light Table for Kids.
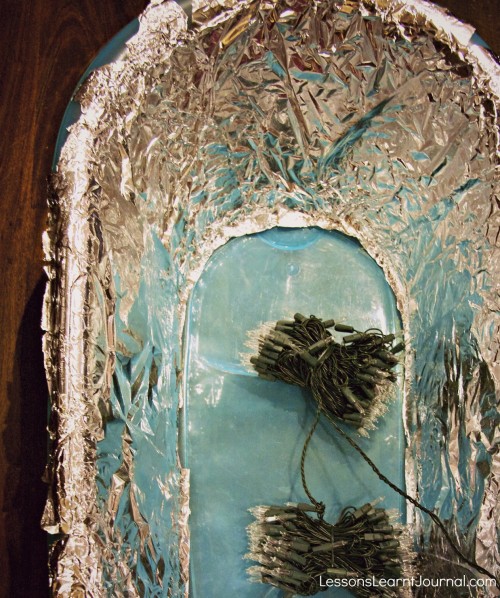
Materials: Old baby bath (ours is a frosted blue colour); clear fairy lights; aluminium foil; double sided tape.
Method:
Using double sided tape, attach the aluminium foil to the sides of the baby bath. Have the shiny side facing out so that it reflects the fairy lights.
Because our baby bath is already frosted, I didn’t need to worry about the lights being too bright. However, if you were using a clear box and wanted to frost the top of your light box, you could attach some baking paper to the top of the box or spray paint the top with a frost paint (as suggested by Teach Preschool).
Turn the baby bath upside down and place the fairy lights inside the bath.
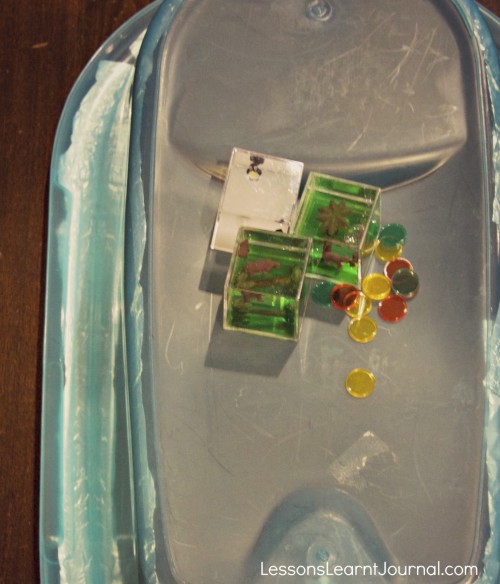
The finished product before you turn out the lights and put the fairy lights on, looks very ordinary.
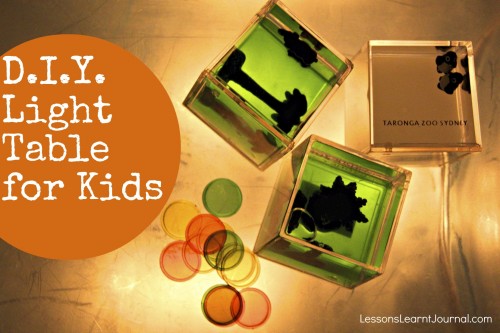
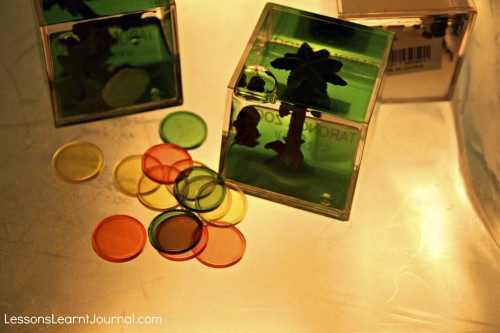
However, create a dark space, turn the fairy lights on… and the magic begins.
N & M: 3 years, 4 months
E: 1 year, 3 months
September 2011

